





User Guide
CCTech Data Exchange Connector for Creo
Overview
CCTech's Data Exchange Creo Connector allows you to create and share Data Exchanges and consume Data Exchanges that are created and shared by other Autodesk and non-Autodesk applications including custom enterprise applications, such as Grasshopper, Inventor, Revit, and Power Automate. You can share a granular level of your design data in a neutral format with different stakeholders, projects, and applications to create interoperable and collaborative workflows.
What is a Data Exchange?
A Data Exchange represents a subset of your design stored in a neutral format in the cloud. It allows you to access the relevant geometry and properties of your model, either as a whole or at a granular level, so that you can create custom workflows. You can use a Data Exchange to build interoperable workflows spanning across organizations, applications, and systems to share the right data with the right stakeholders in the right context. Data Exchanges provide control over the accessibility of data without exposing your source model files. Data Exchanges can also facilitate continuous validation and version control of model objects.
In a sample business scenario, let us consider two customers who are using Revit and Creo applications. These customers need to align important geometry that is being designed in those applications. This task of coordinating the location of important geometries can be completed by using a Data Exchange. When the author of the Creo model changes the design, they share the latest updates via a Data Exchange. The latest cloud-based data exchange can then be used downstream so that customers using Revit can efficiently receive updates to just the objects that changed. Receiving these delta updates reduces latency compared to the traditional file-based reference workflows, where the entire file is transferred between cloud and desktop systems.
System Requirements
Software
| Operating System | Windows 10 or 11 |
| .NET Framework | Microsoft .NET Framework 4.8 (pre-installed on supported Windows builds) |
| Supported Creo Versions | Creo Parametric 11.0.6.0 and newer versions |
Prerequisites
vc_redist.x64.exe for 64-bit
systems, or vc_redist.x86.exe for 32-bit
systems.
Install
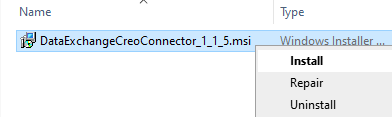
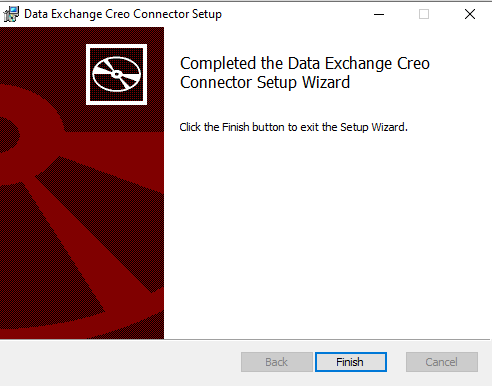
DataExchangeCreoConnector.msi and select Open, or double-click to launch the installer.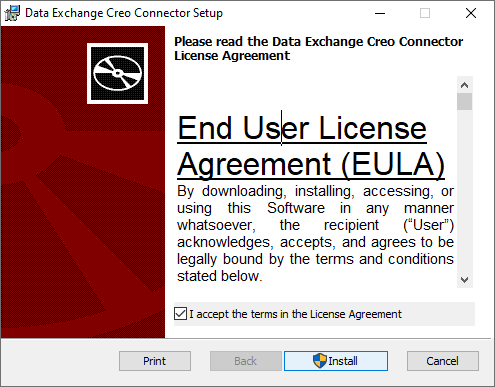
Uninstall
Create and Update Data Exchanges
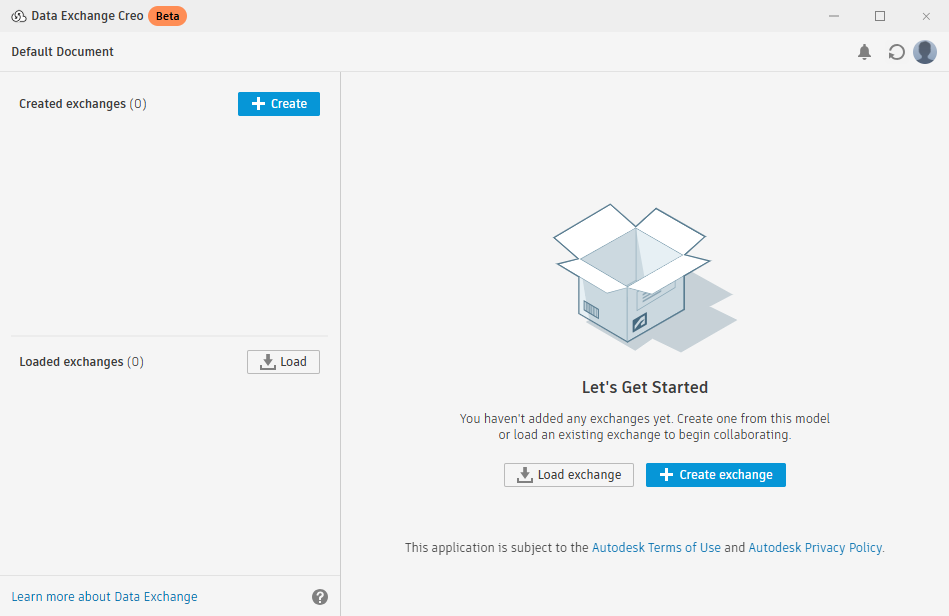
This topic details how to create a Data Exchange of your Creo model using the Creo Connector and save it to Autodesk Docs. After the Data Exchange is created successfully, it will be listed in Creo to view or update later.
Create an Exchange
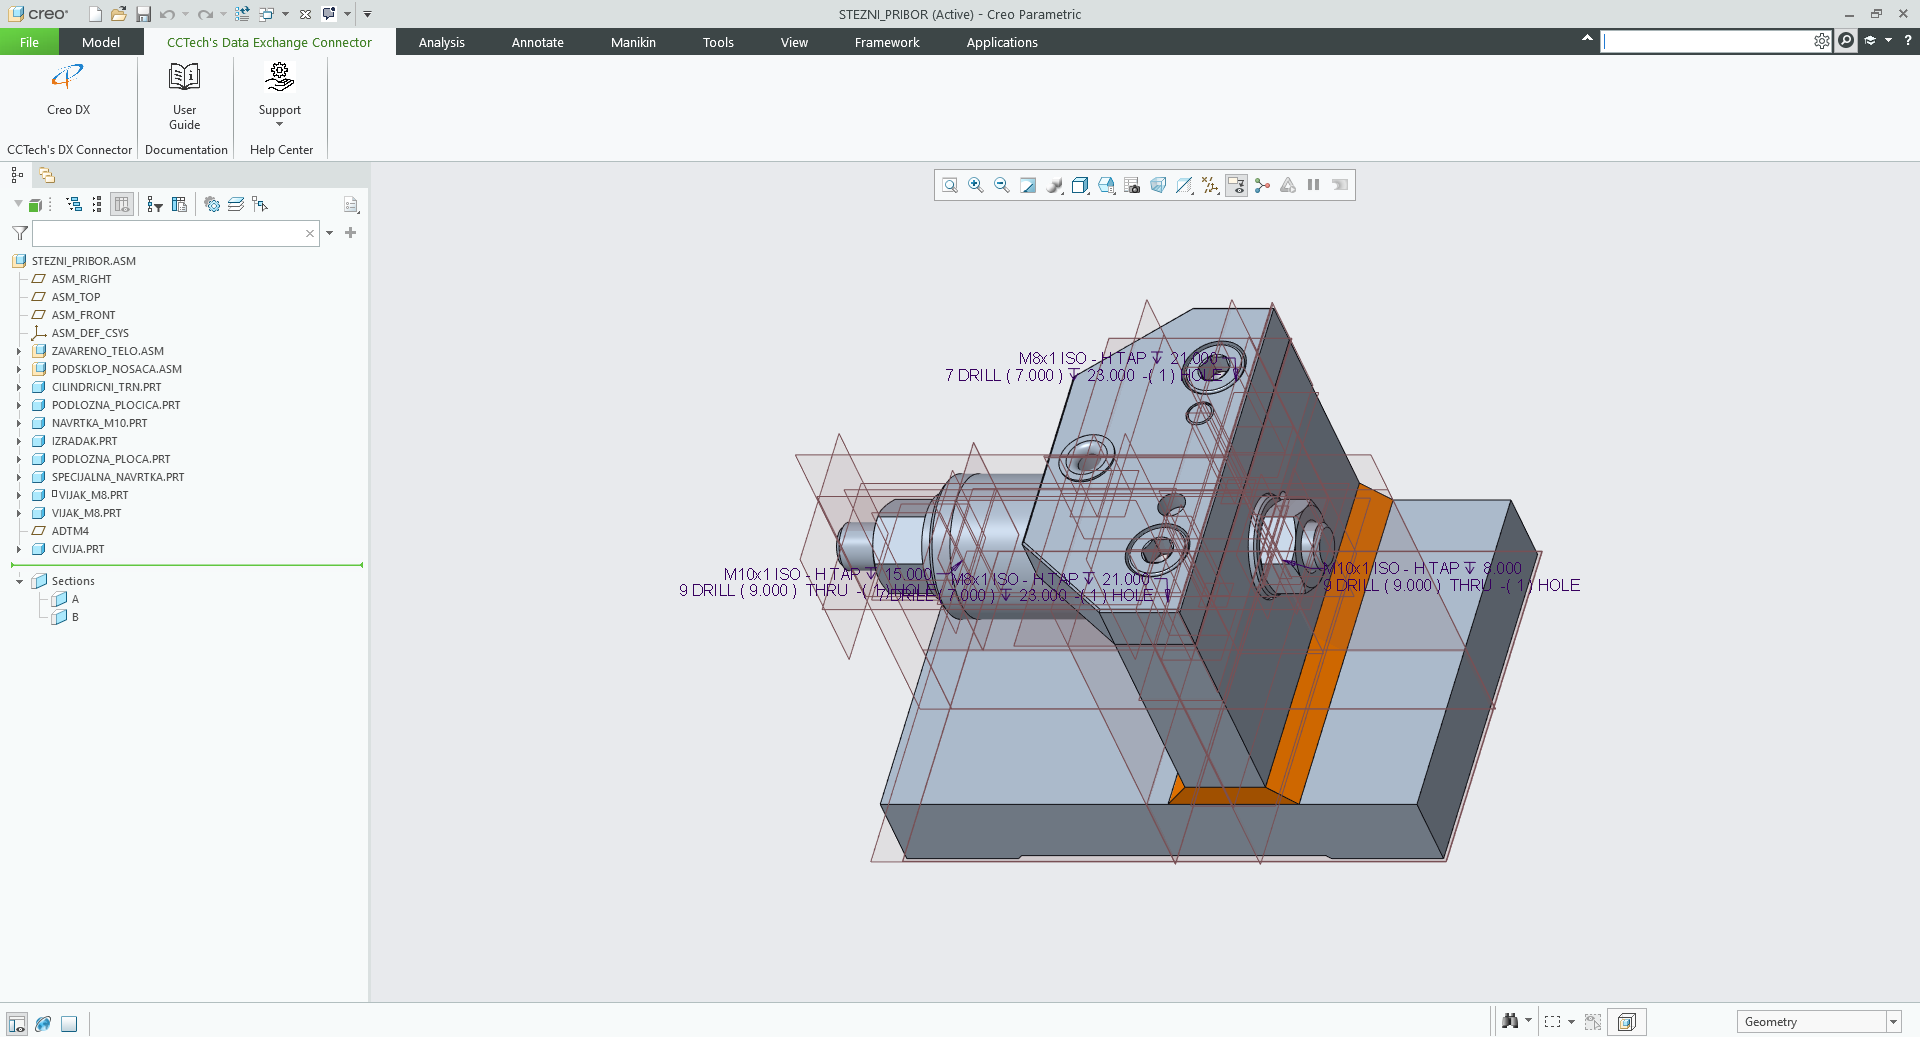
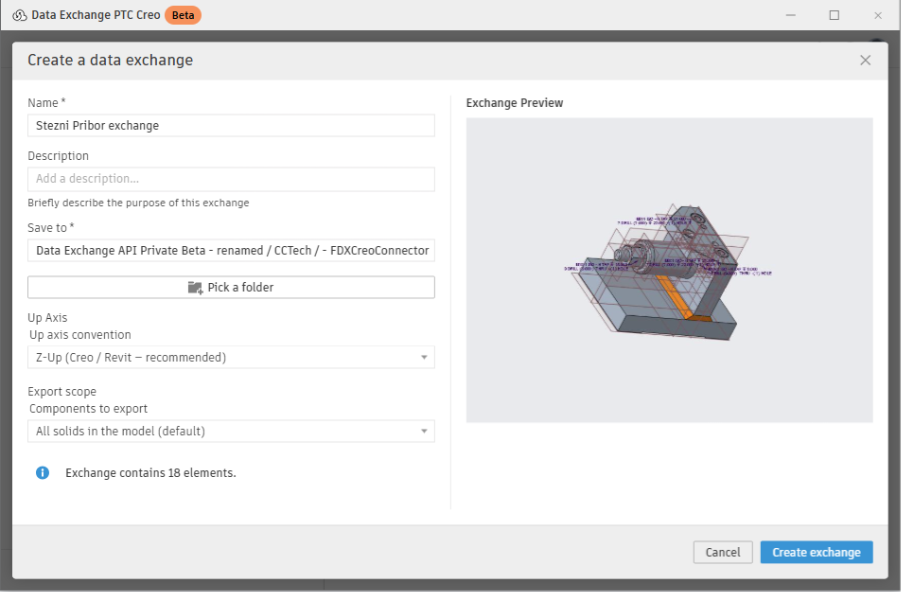
Exchange Details
| Name | Enter a name for the Data Exchange. |
| Description (optional) | Add any description for the Data Exchange. |
| Save to | Select a folder in Autodesk Docs to save your Data Exchange to. |
| Up Axis | Select preferred axis as up axis. Available options are Z and Y axis. |
| Export scope | "All solids in the model" (default), or "Selected components only". For "Selected components only", pre-select components in the model before launching the connector. |
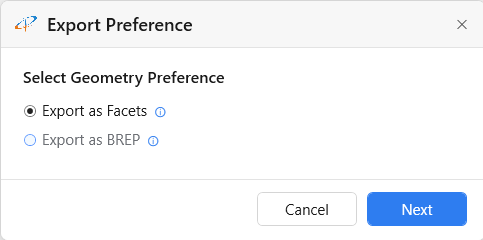
Export Preference
Click Create Data Exchange. The Export Preference dialog appears with the following options. Hover over the information icon (ⓘ) beside an option to view its details.
| Export as Facets (default) | Lightweight faceted geometry. Faster creation, supports part level colors, and suited to visual and clash detection workflows. |
| Export as BREP | High-fidelity geometry. Supports part level colors and richer downstream interaction. |
Select the geometry preference and click Next. If the model contains any unsupported or failed objects, they are automatically captured in a detailed HTML report, with a clickable link shown on the interface once the workflow completes. Upon successful creation, the new Exchange is listed in the Connector interface with its name, version, date, and time.
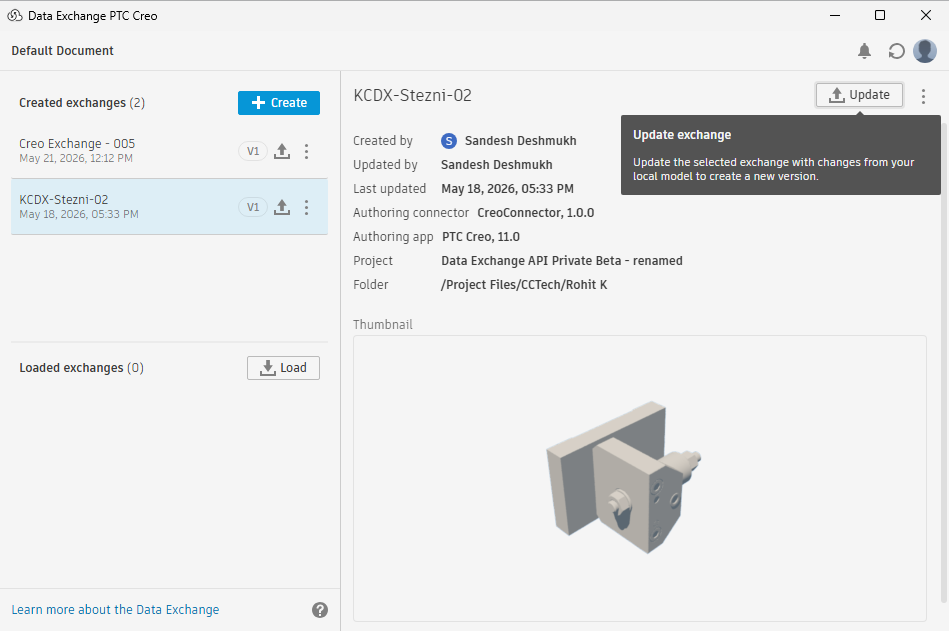
Update a Data Exchange
The Data Exchange updates with the latest changes and its version number increases (for example, V1 to V2).
Load a Data Exchange
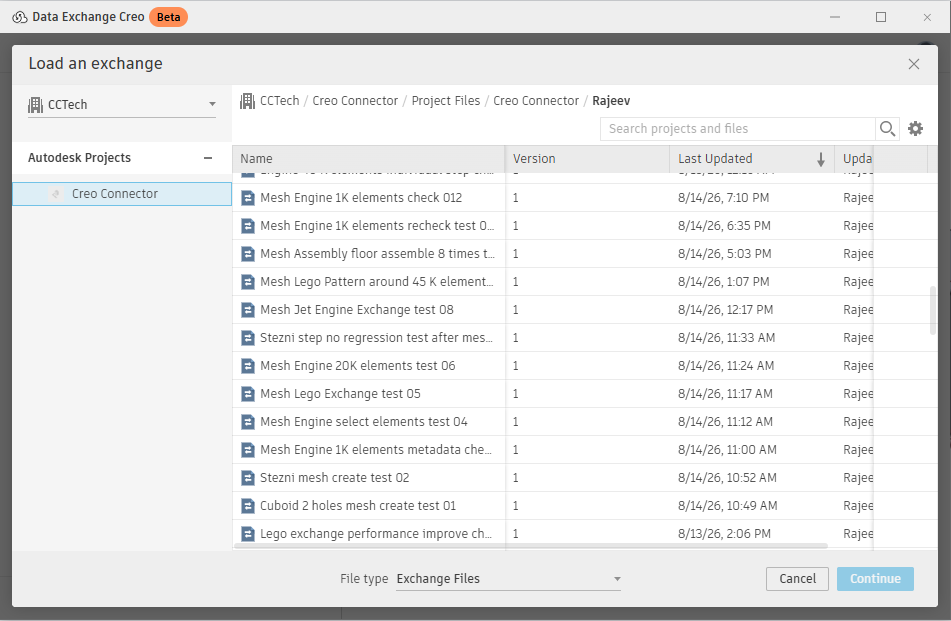
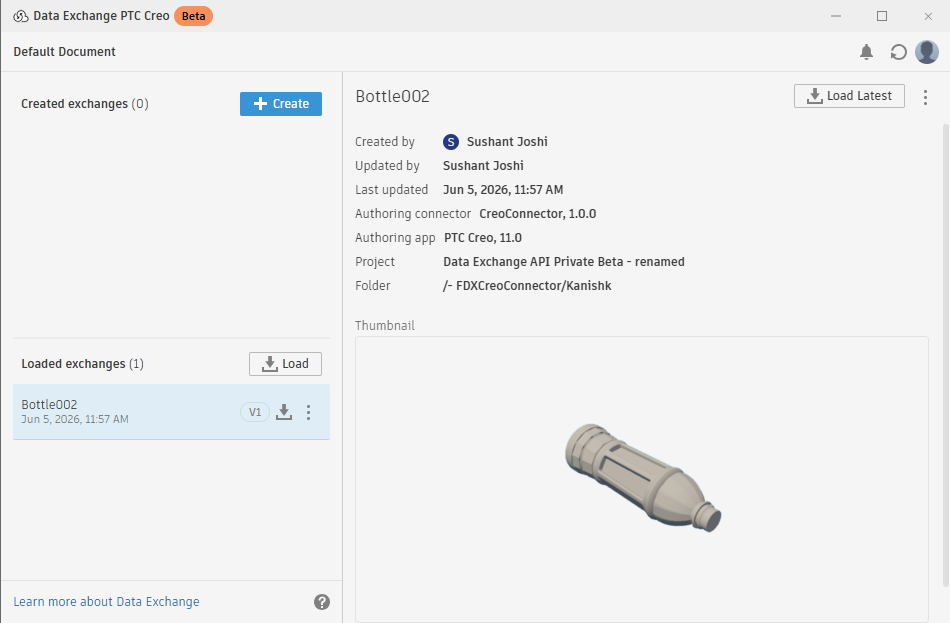
The load feature allows you to view and load a Data Exchange from Autodesk Docs to your Creo Connector.
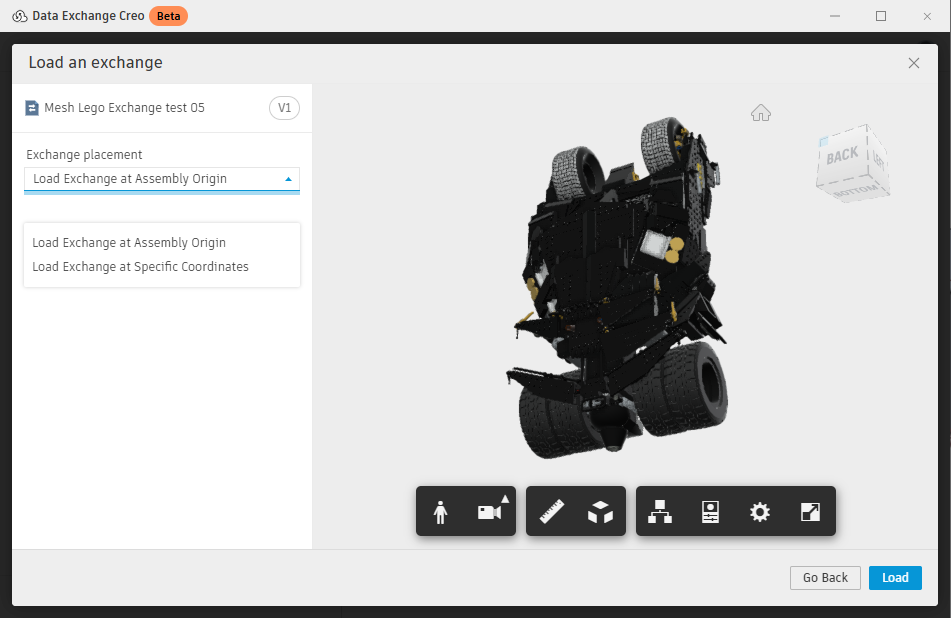
Advanced Load Options
| Load Exchange at Assembly Origin (default) | Loads the Exchange at the origin point (0, 0, 0). |
| Load Exchange at Specific Coordinates | Allows you to manually enter X, Y, and Z coordinates for placement. |
Import Preference
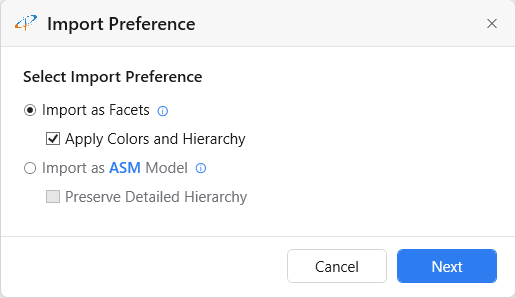
Click Load. The Import Preference dialog appears with the following options. Hover over the information icon (ⓘ) beside an option to view its details.
| Import as Facets (default) | Lightweight faceted model. |
| Apply Colors and Hierarchy (default) | Retains part level colors and maintains component hierarchy. Clear it to load a flat model with no colors or hierarchy, which loads fastest. |
| Import as ASM Model | High-fidelity BREP geometry with assembly structure. |
| Preserve Detailed Hierarchy (default) | Retains the detailed assembly tree and individual components, and supports referencing workflows. Clear it to load a single complete model reference, which loads faster. |
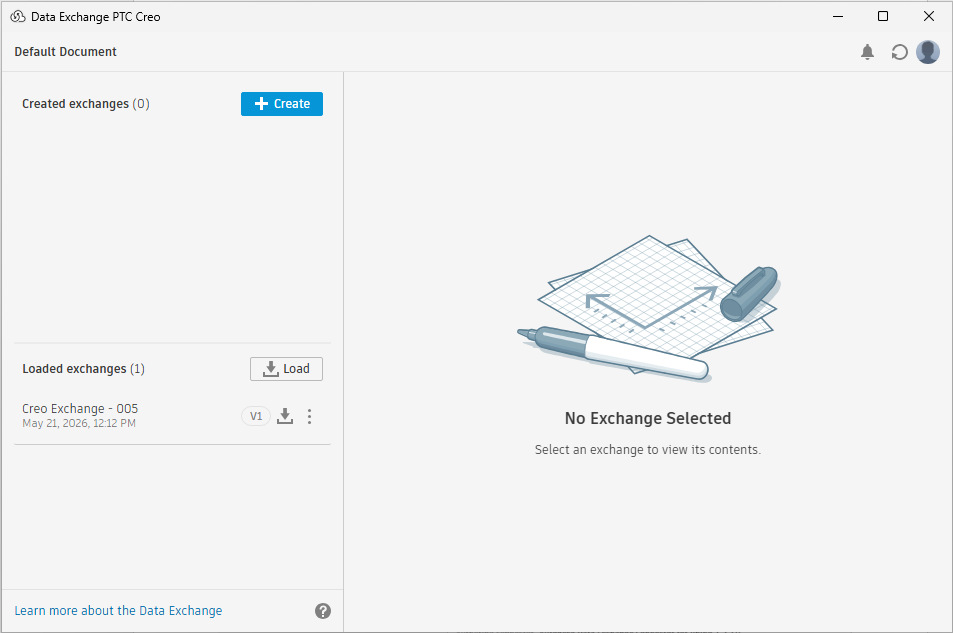
Select the import preference and click Next. The Data Exchange is listed in the connector interface once loading completes.
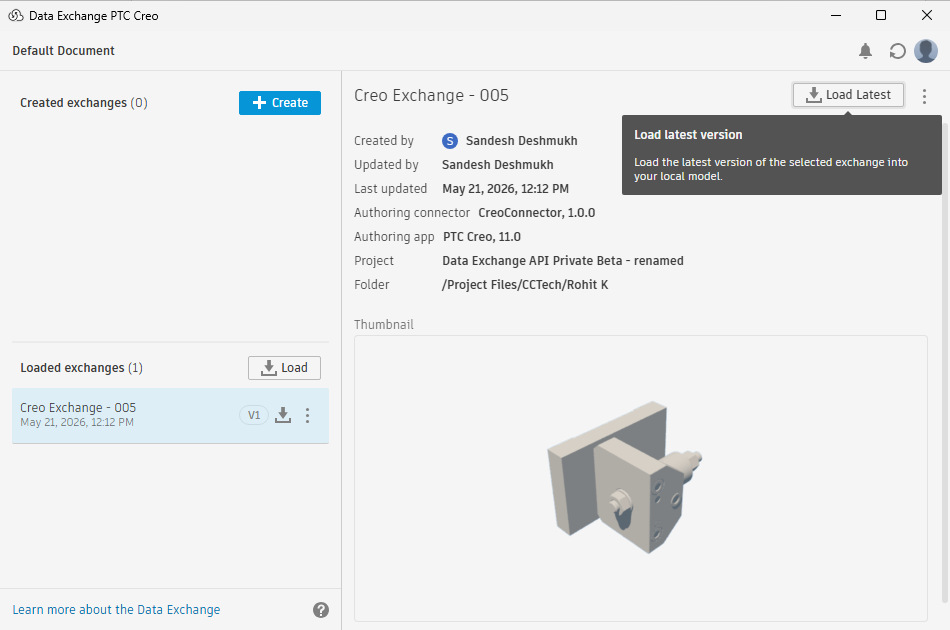
Load the Latest Version of a Data Exchange
The Data Exchange updates to the latest version with the latest changes (for example, V1 to V2).
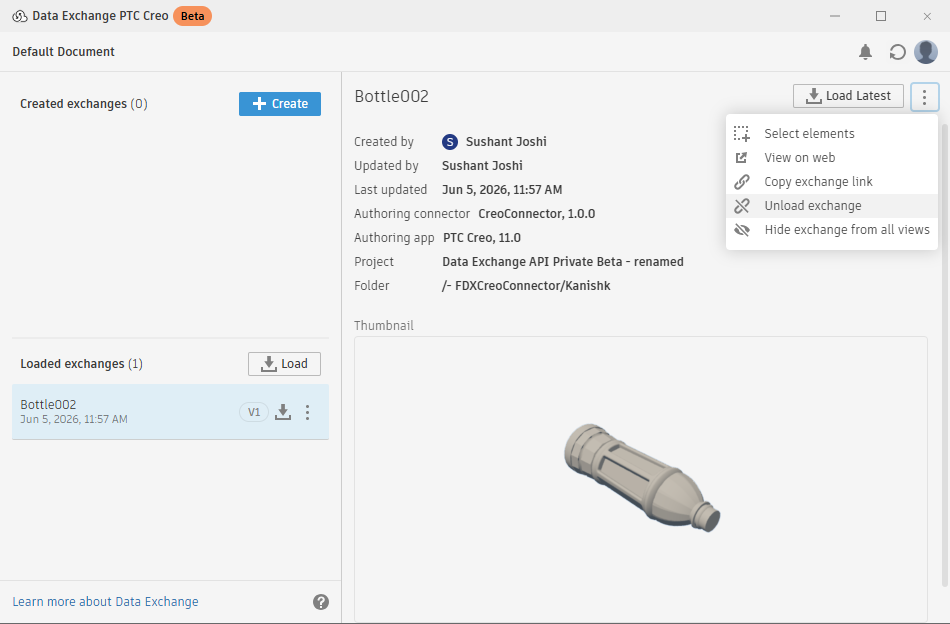
Unload a Data Exchange
You can unload one or more selected Data Exchanges to remove them from the connector interface and delete their associated data from the Creo model. This action does not remove the exchanges from Autodesk Docs (Forma); unloaded exchanges remain available there.
After confirmation, the exchange and related data are removed from Creo and a message is shown on the UI.
Delete a Data Exchange
You can delete exchanges that you created directly from the Creo connector interface. This removes the exchange from Autodesk Docs (Forma), while the model data remains intact in Creo.
View Data Exchanges on the Web
View a selected Data Exchange from the created or loaded list on Autodesk Docs. Selecting it opens the Data Exchange in a new web browser window.
A new browser window opens where you can view the Data Exchange in Autodesk Docs.
Select the Elements of a Data Exchange
Select and highlight components from one or more Data Exchanges in your Creo file, to quickly identify the elements belonging to the selected Data Exchange(s).
The elements from the selected Data Exchange(s) are highlighted in Creo.
View Log Files
Log files contain information about operations that have taken place and can be used to diagnose various problems. You can view log files to diagnose failures or errors while using the Creo Connector and share them with the support team for further analysis.
Current Limitations
Need help?
Support: support.dataexchange@cctech.co.in